Our External Wall Insulation Process
We take a system-led, professional approach to external wall insulation. Every stage of our process is designed to maximise thermal performance, ensure long-term durability, and deliver a clean, high-quality finish.
Below is a clear overview of how we carry out each project from start to finish.
Thermal Survey & Heat Loss Assessment
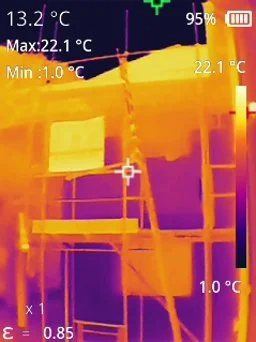
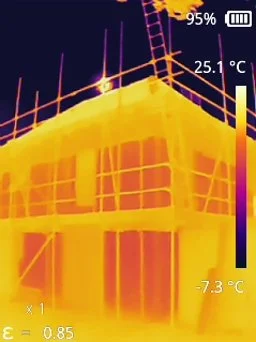
Before any work begins, we carry out a formal thermal imaging survey to identify areas of heat loss and thermal bridging.
This allows us to:
Pinpoint inefficient wall sections
Understand how heat is escaping from the building
Design the correct insulation system for the property
Thermal imaging ensures the system is targeted, effective, and delivers real performance improvements — not guesswork.
(Insert thermal imaging images here)
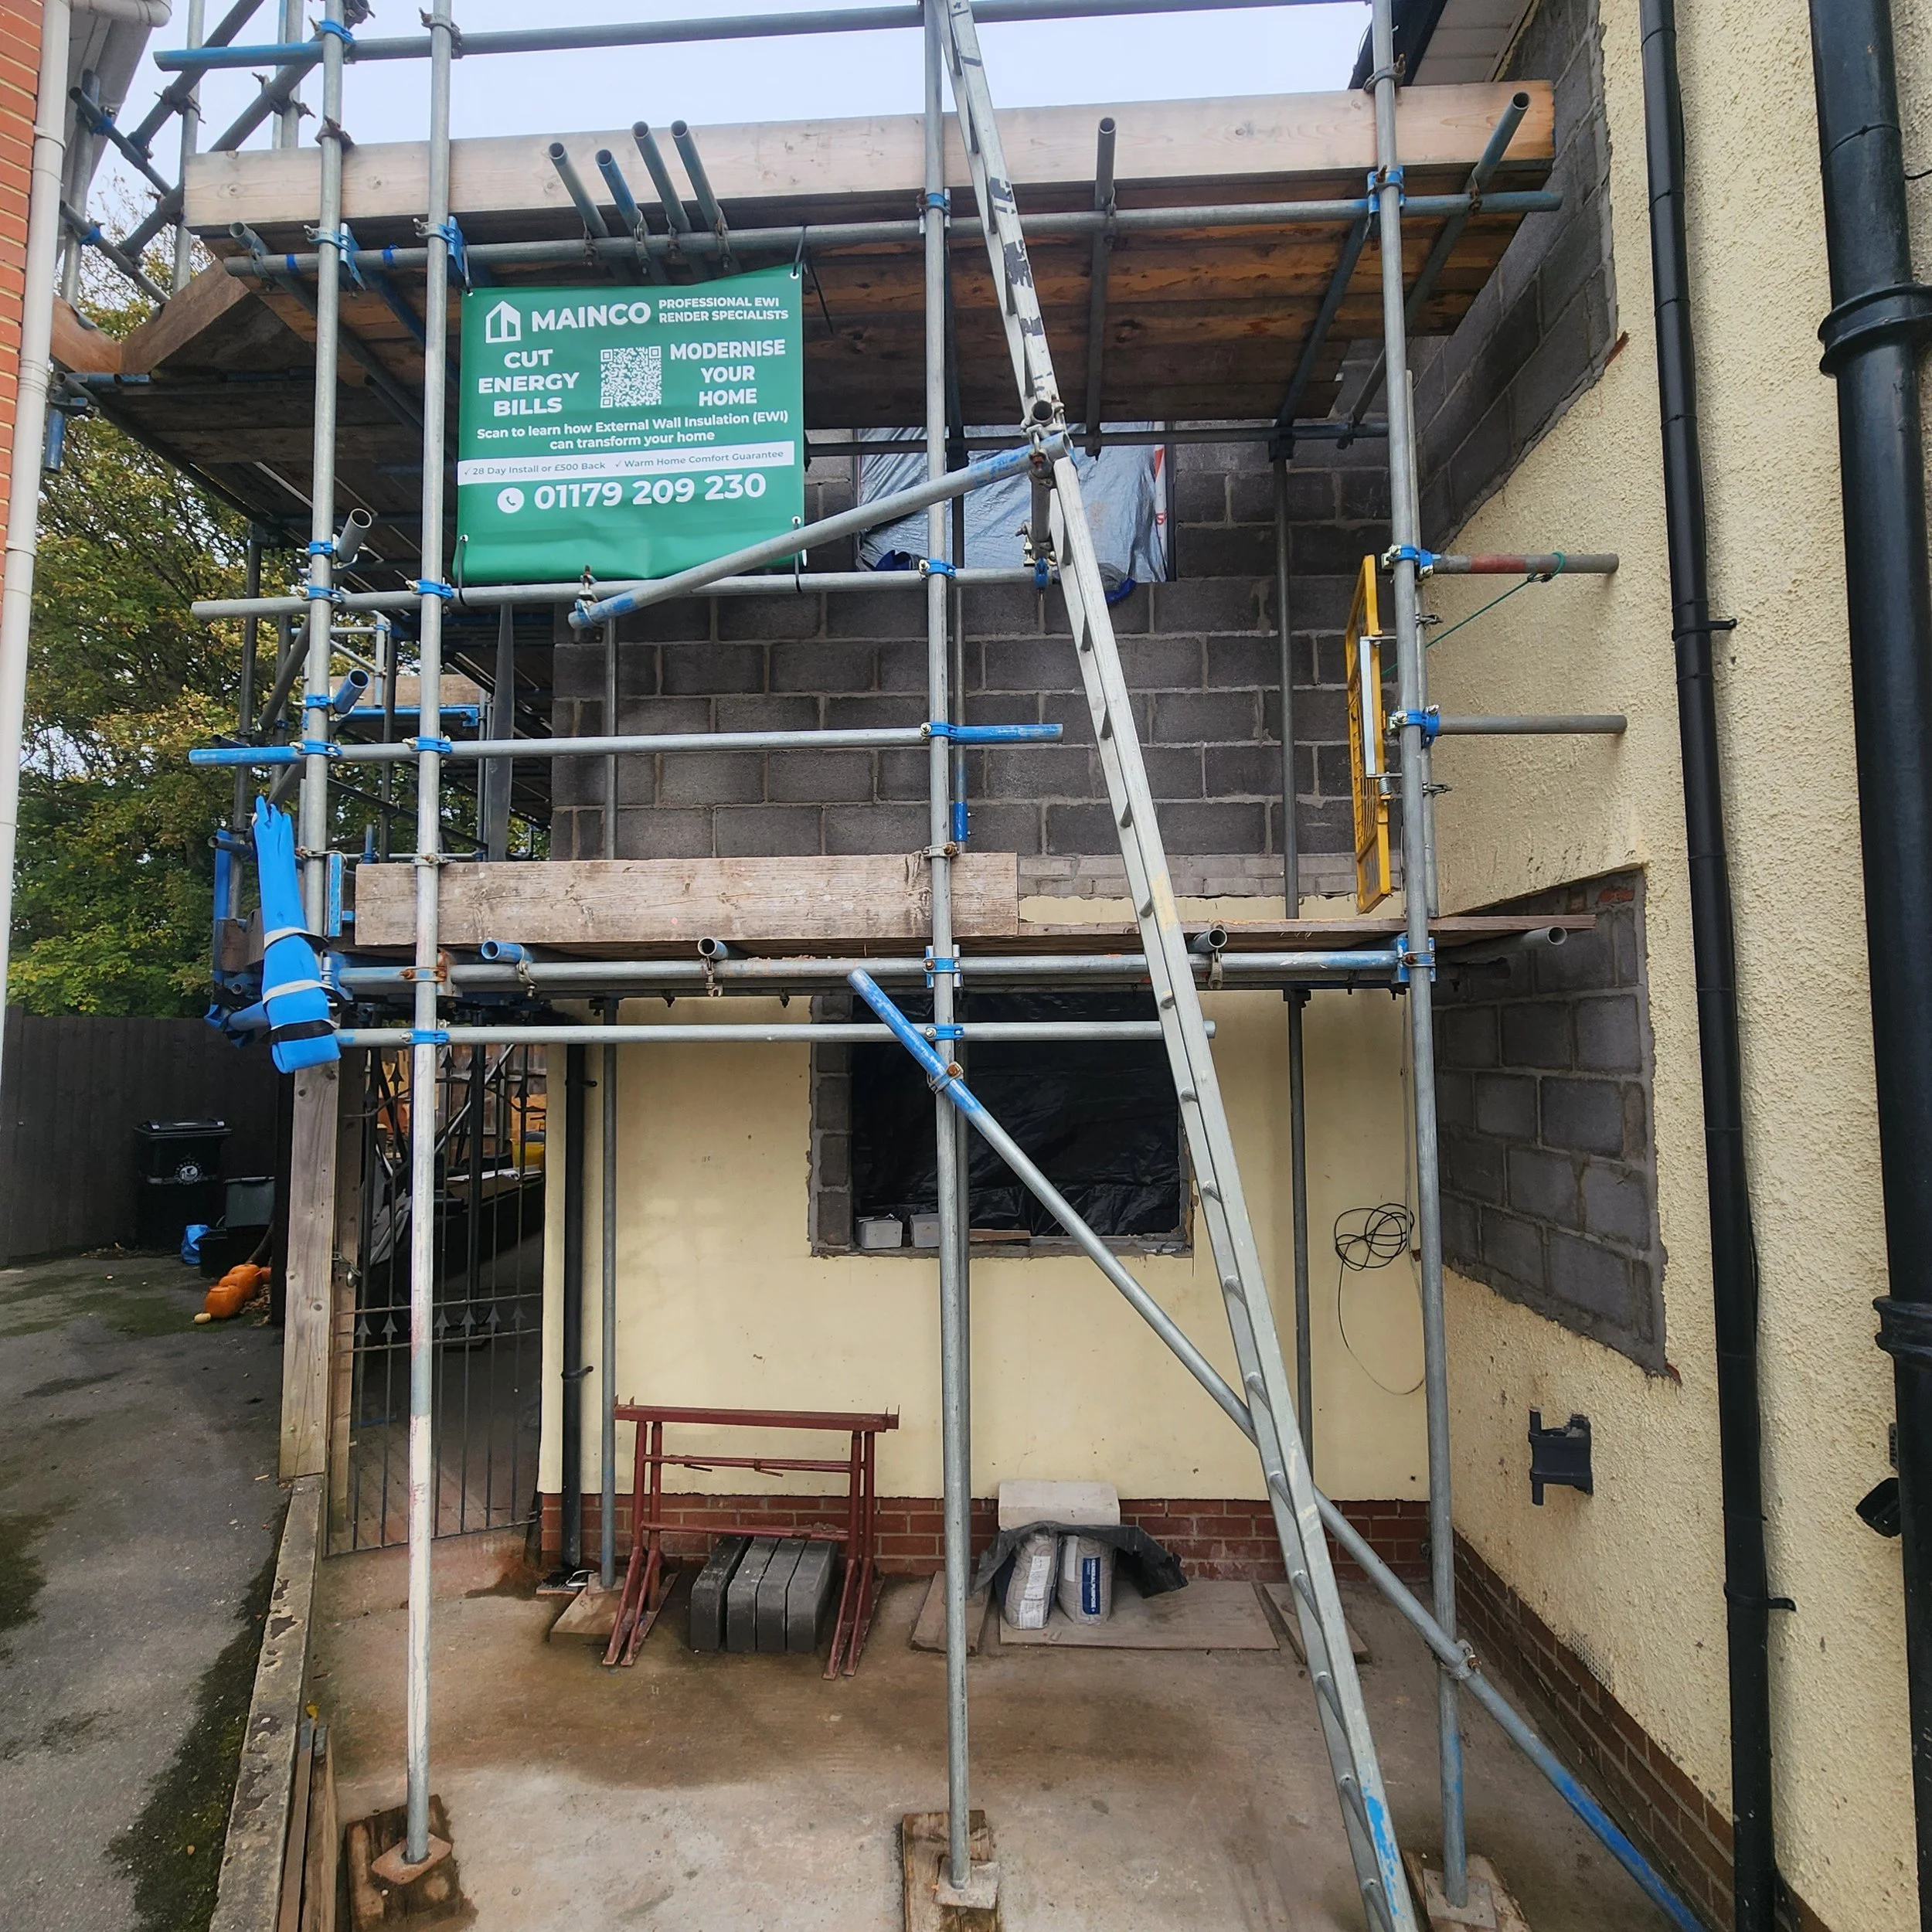
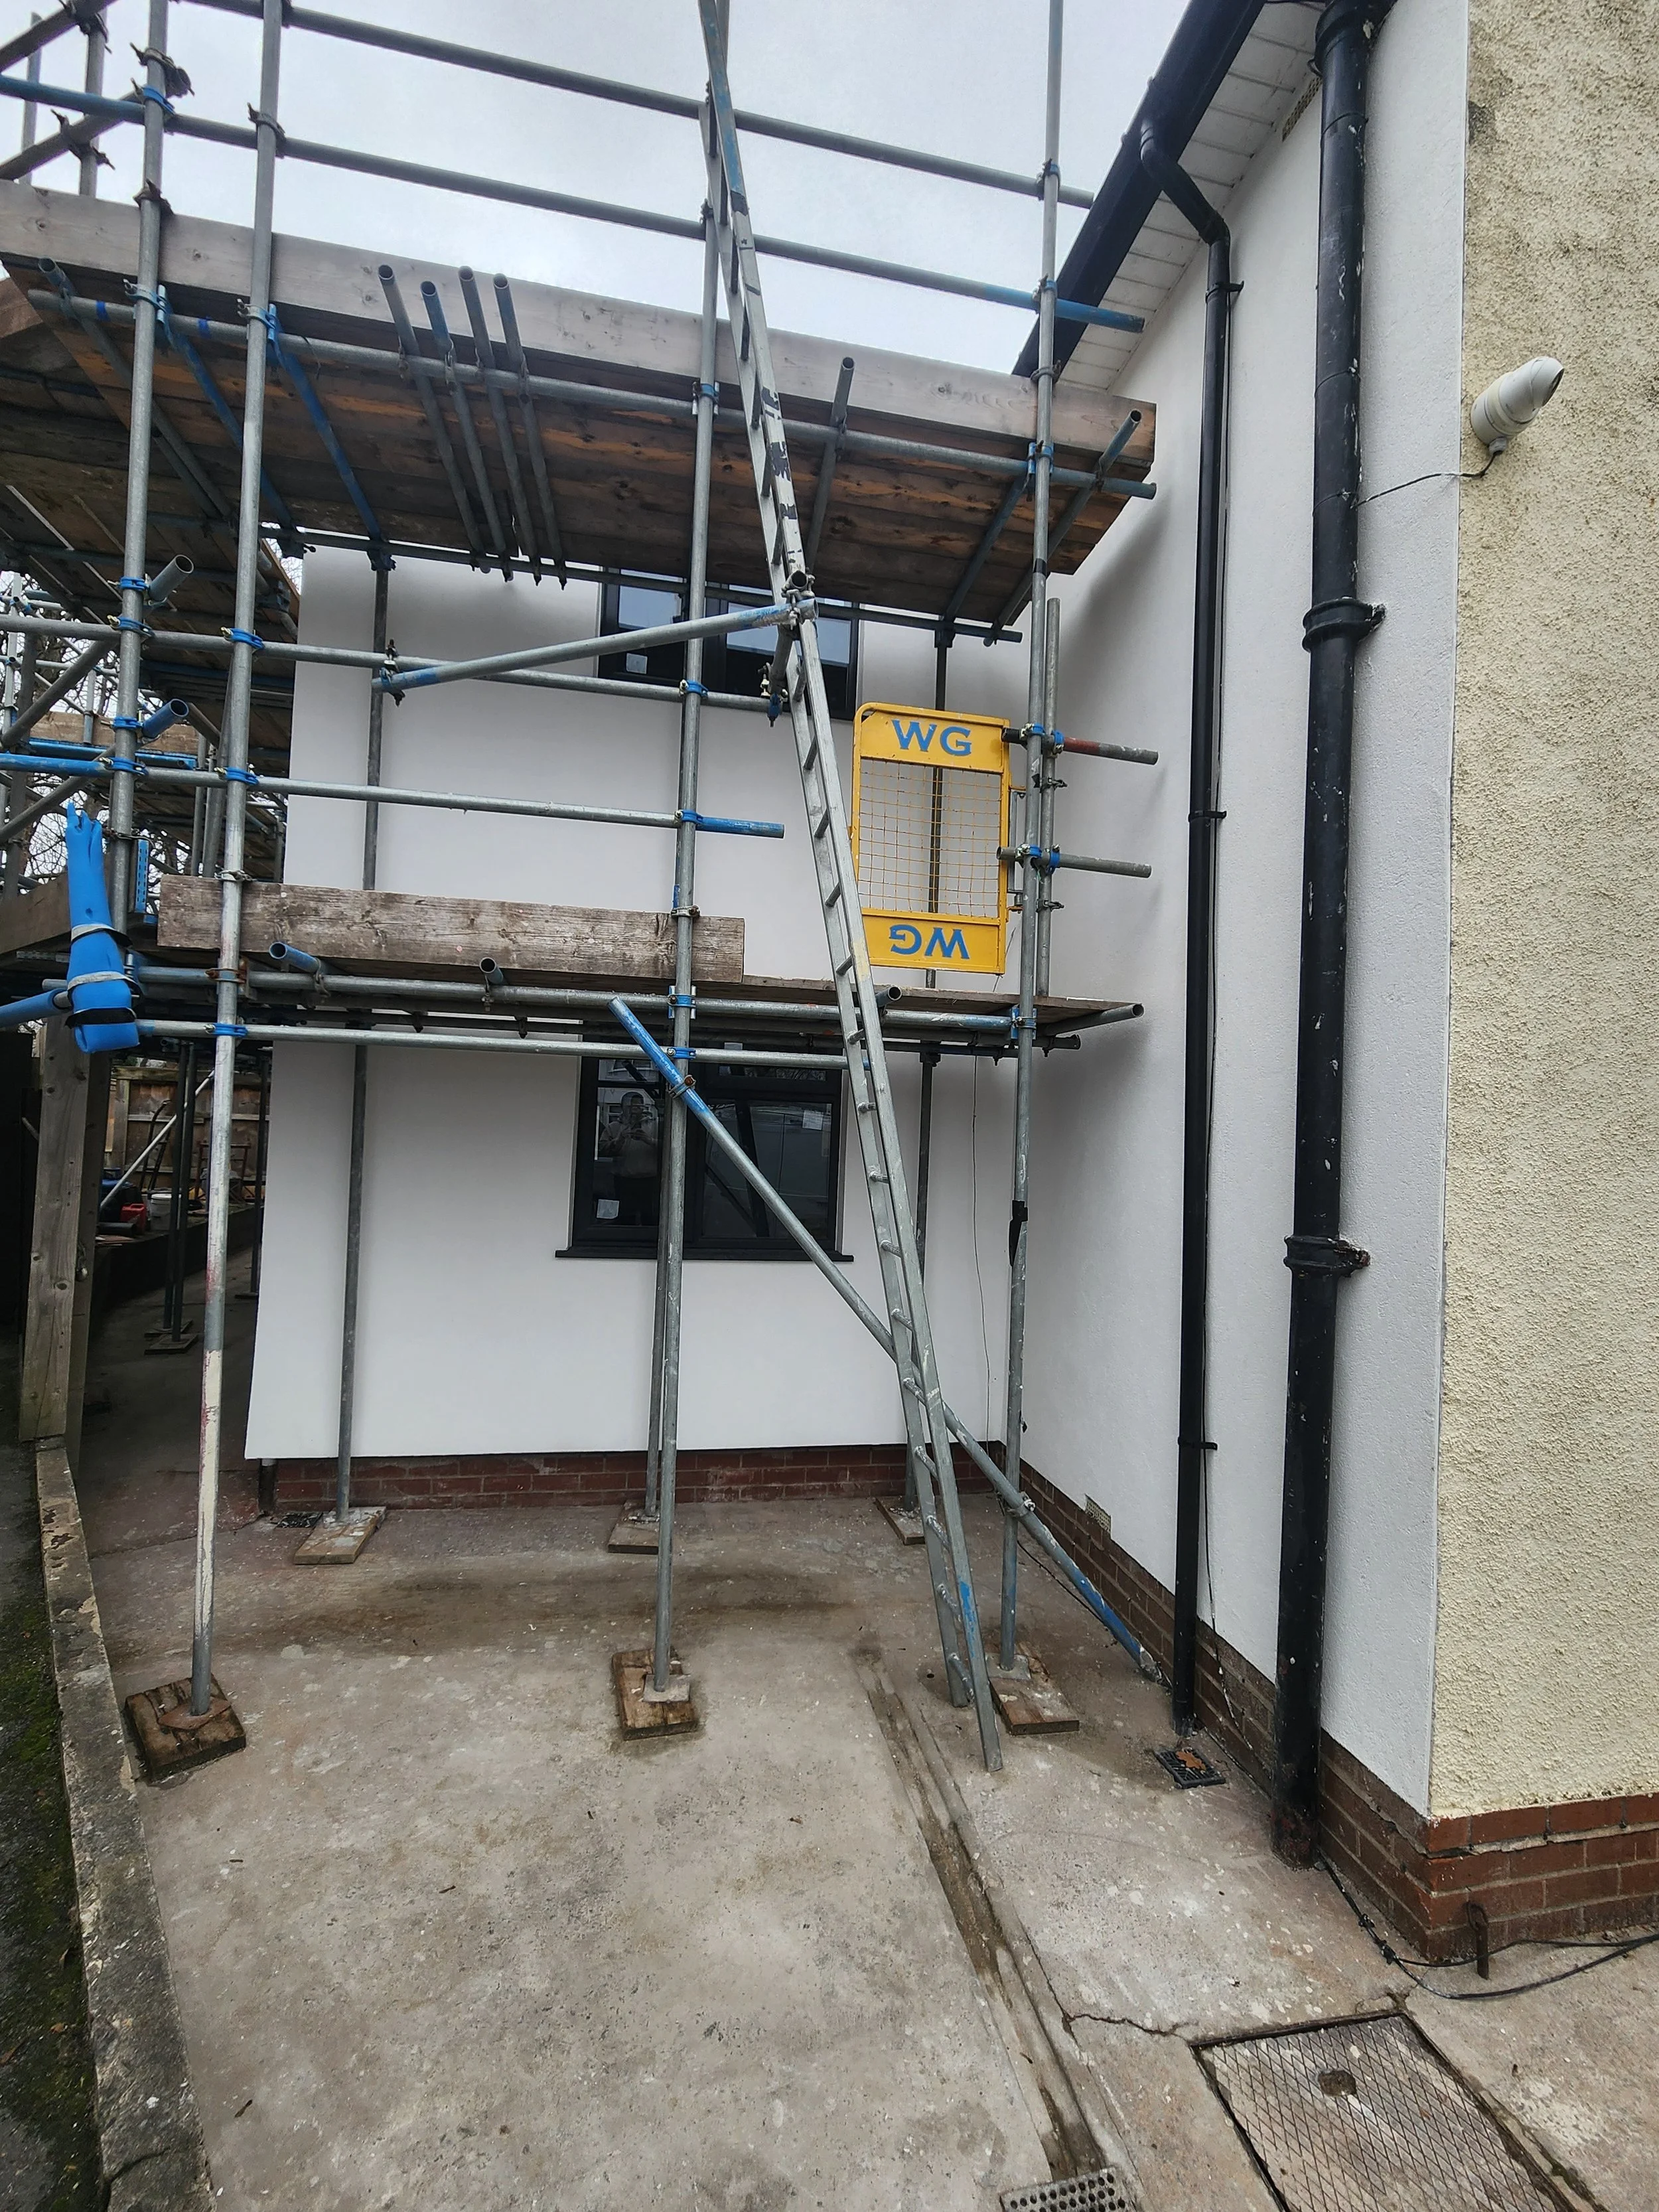
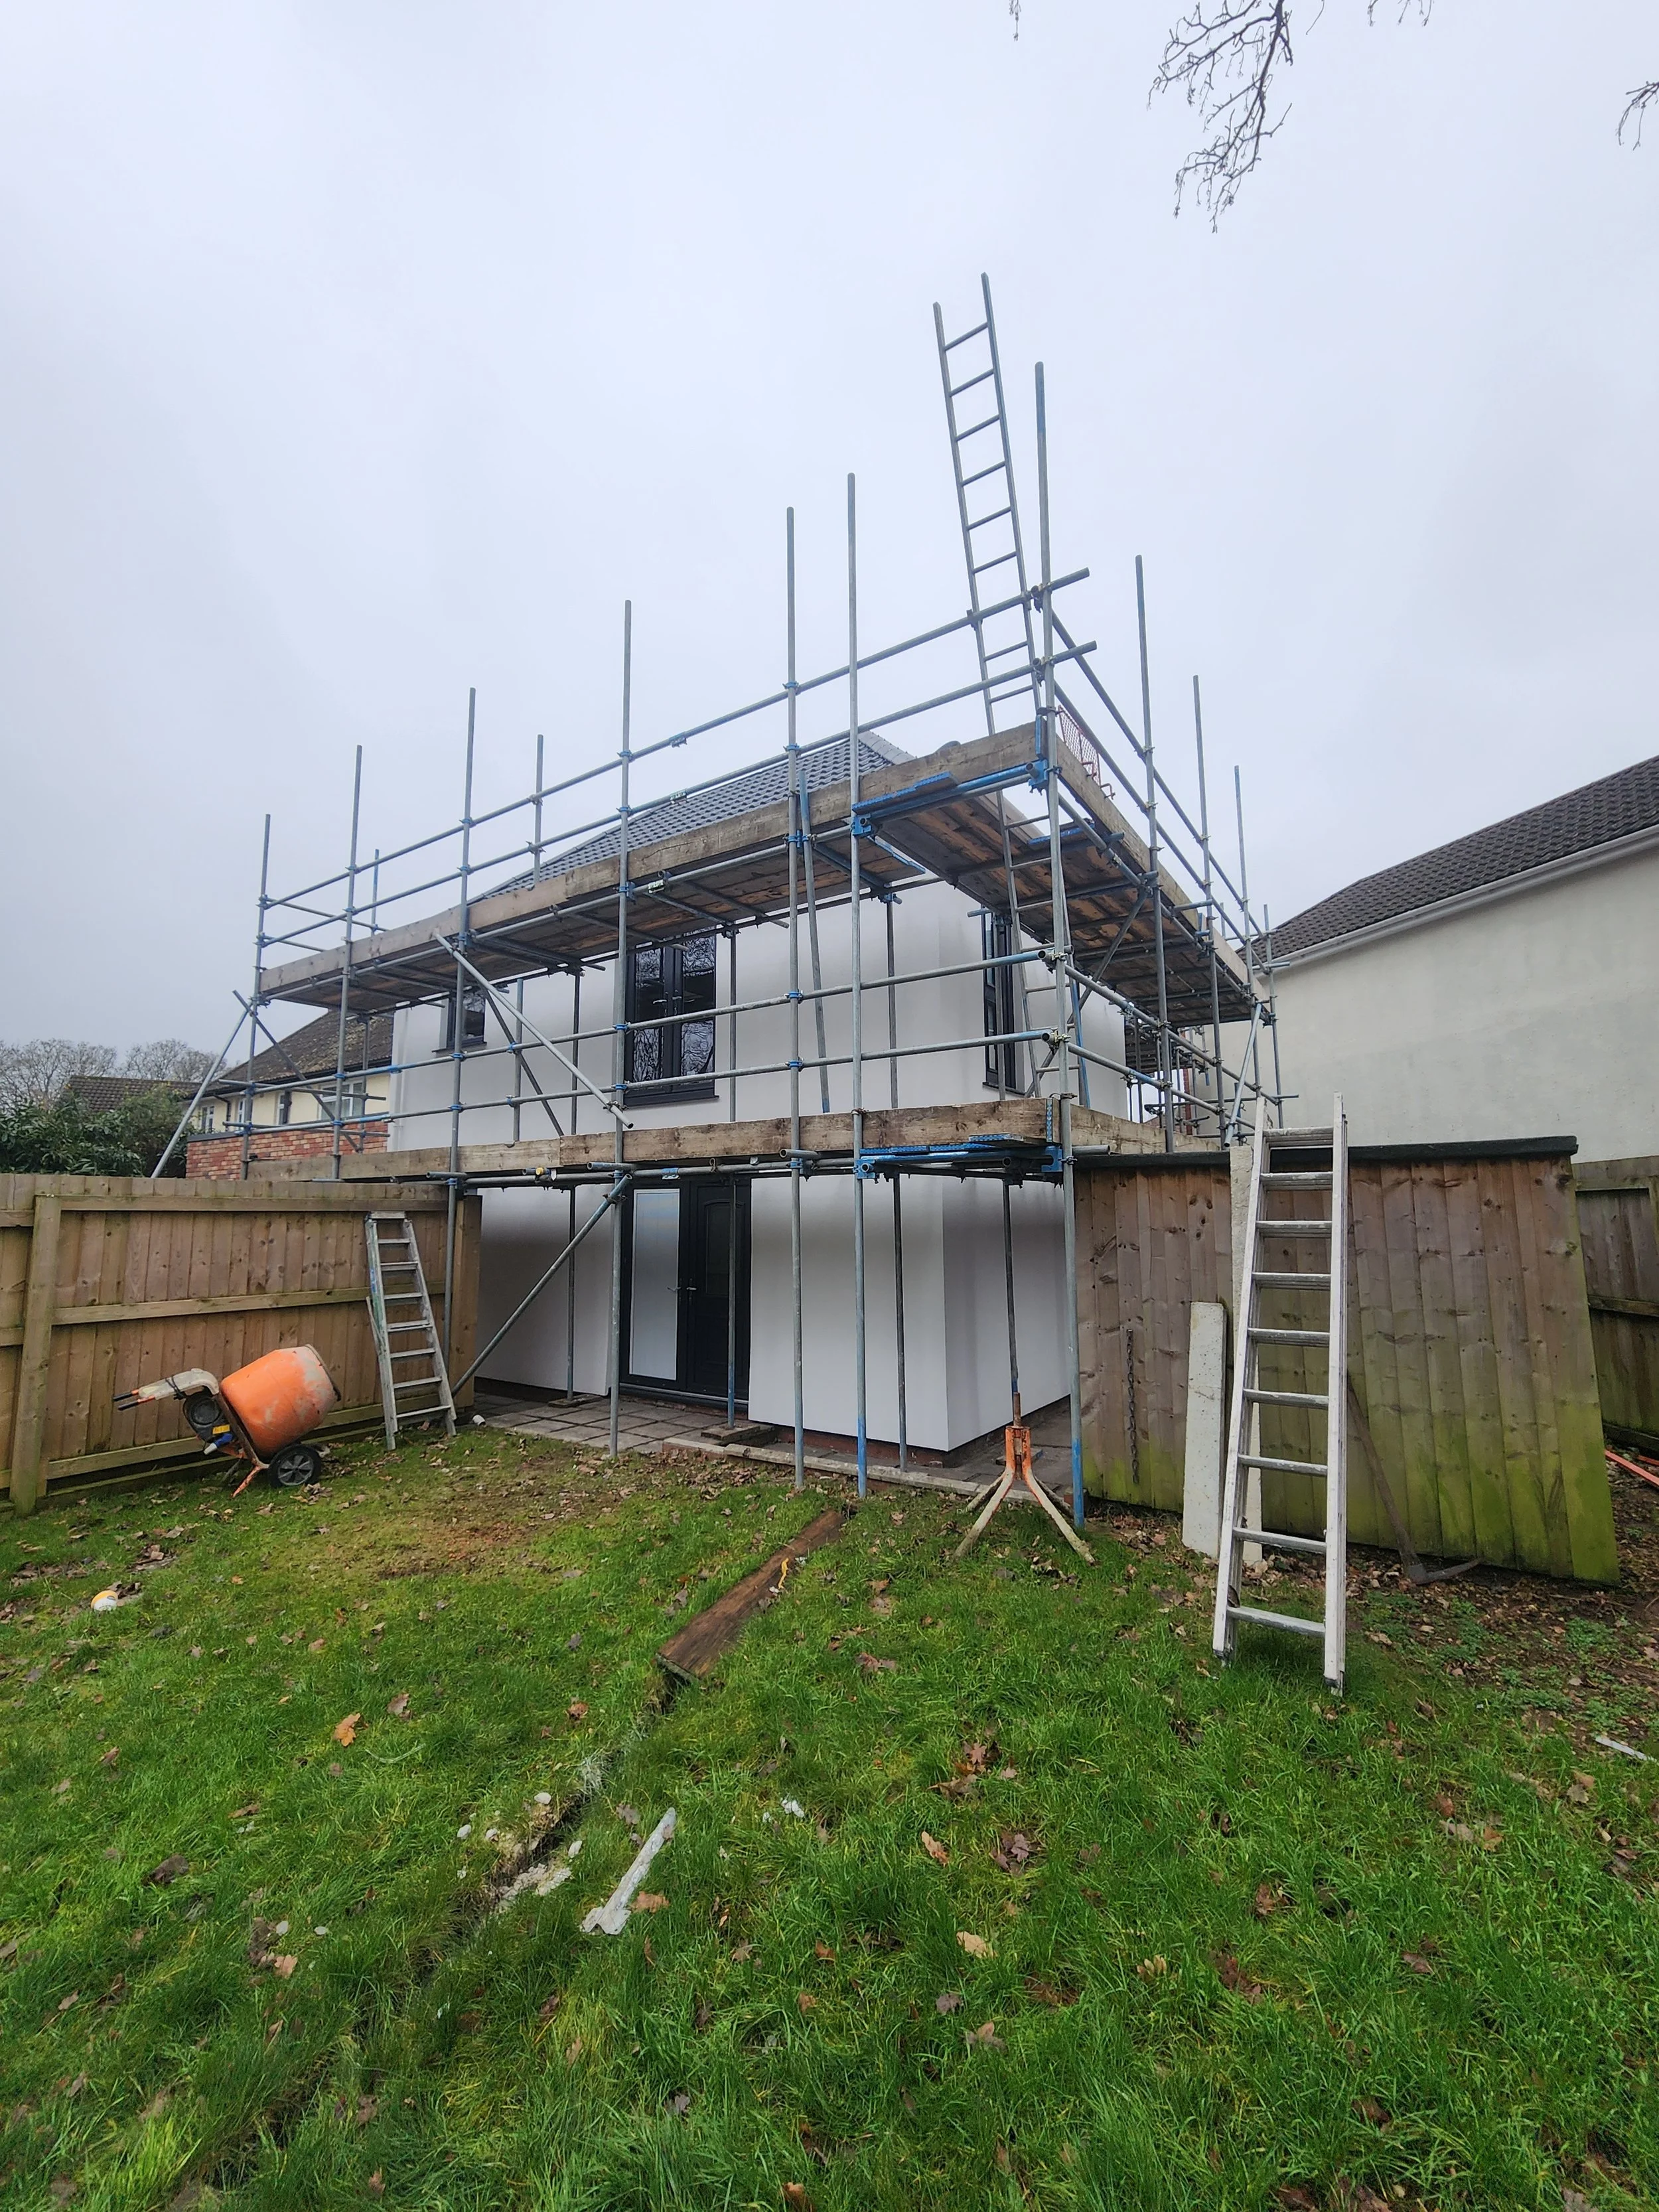
Scaffold & Site Setup
Full perimeter scaffolding is installed to provide safe access to all elevations and allow the system to be installed correctly at every level.
Proper access allows us to:
Prepare walls thoroughly
Achieve precise detailing around openings and rooflines
Maintain consistent quality across the entire elevation
Correct access is essential for a durable, long-lasting insulation system — not just a cosmetic finish.
(Insert scaffold erection images here)
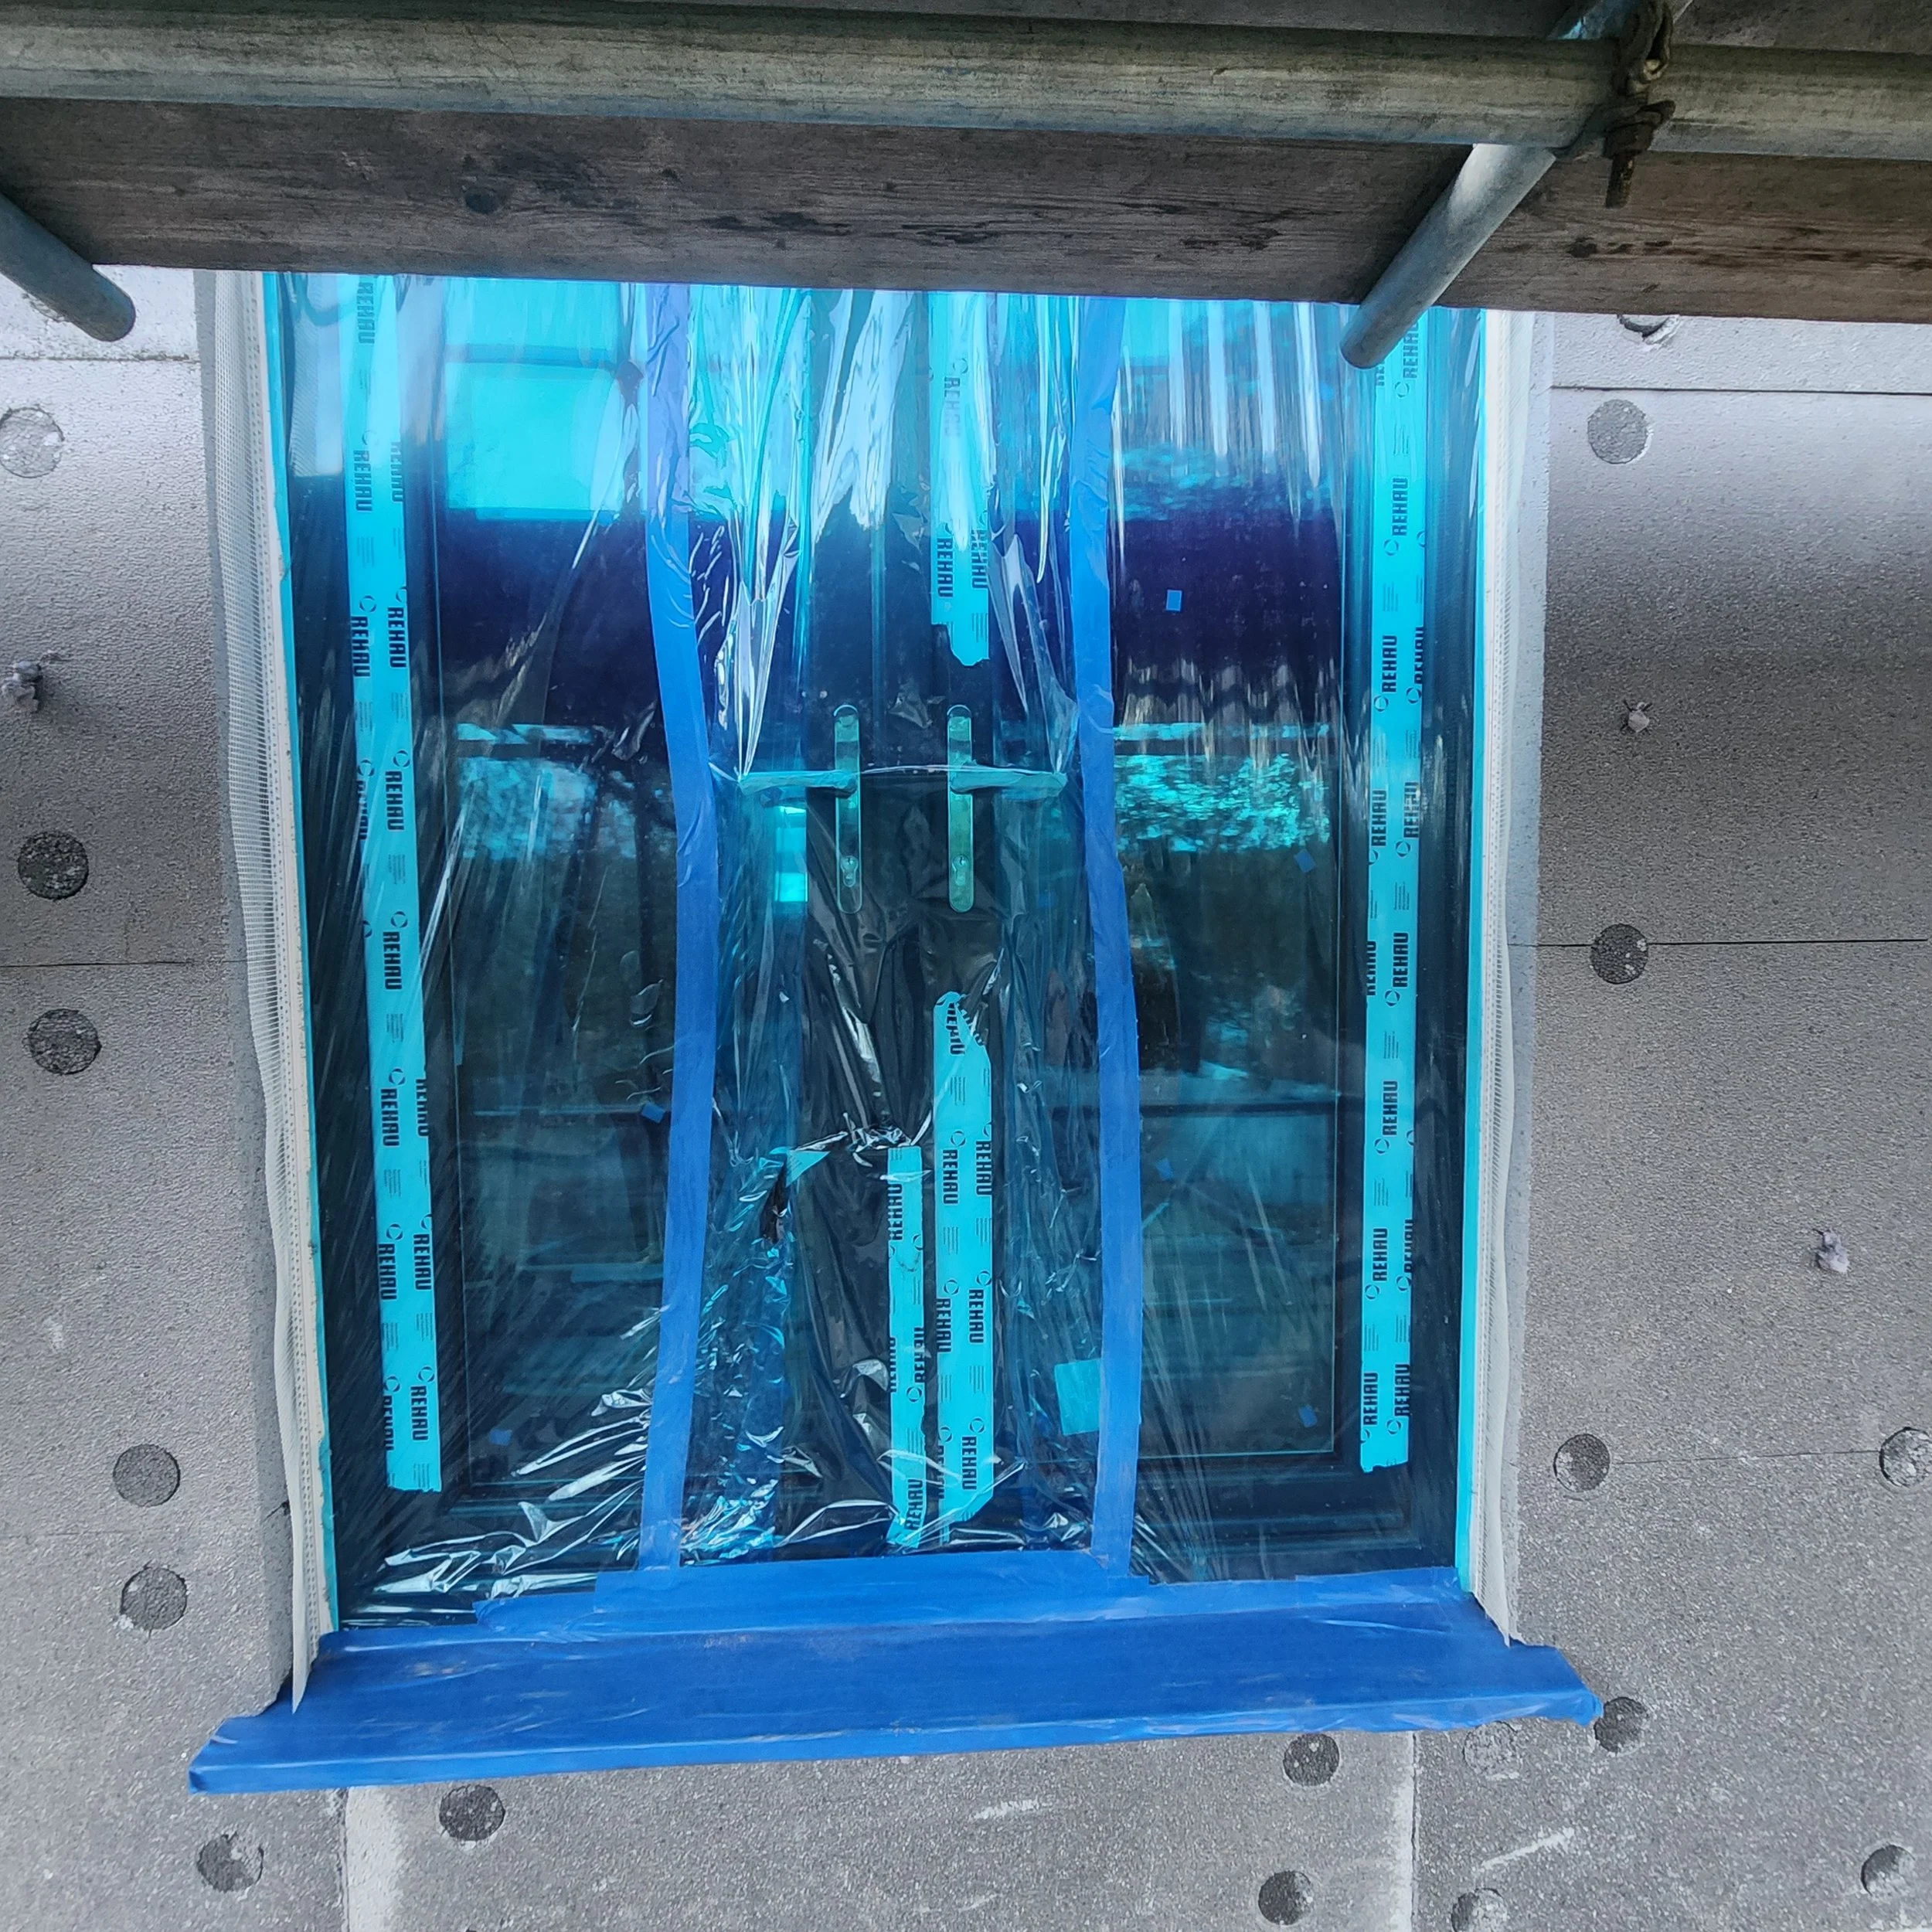
Window & Door Protection
Before insulation is installed, all windows and doors are fully protected to prevent damage and ensure clean, sharp detailing.
This allows us to achieve accurate finishes around frames while keeping existing joinery clean and undamaged throughout the process.
(Insert window protection image here)
Wall Preparation
All wall surfaces are inspected and prepared to create a stable base for the insulation system.
This may include:
Repairing defects in the substrate
Removing loose or failed material
Ensuring surfaces are clean and level
Correct preparation is critical to the long-term performance of the system.
(Insert preparation images here)
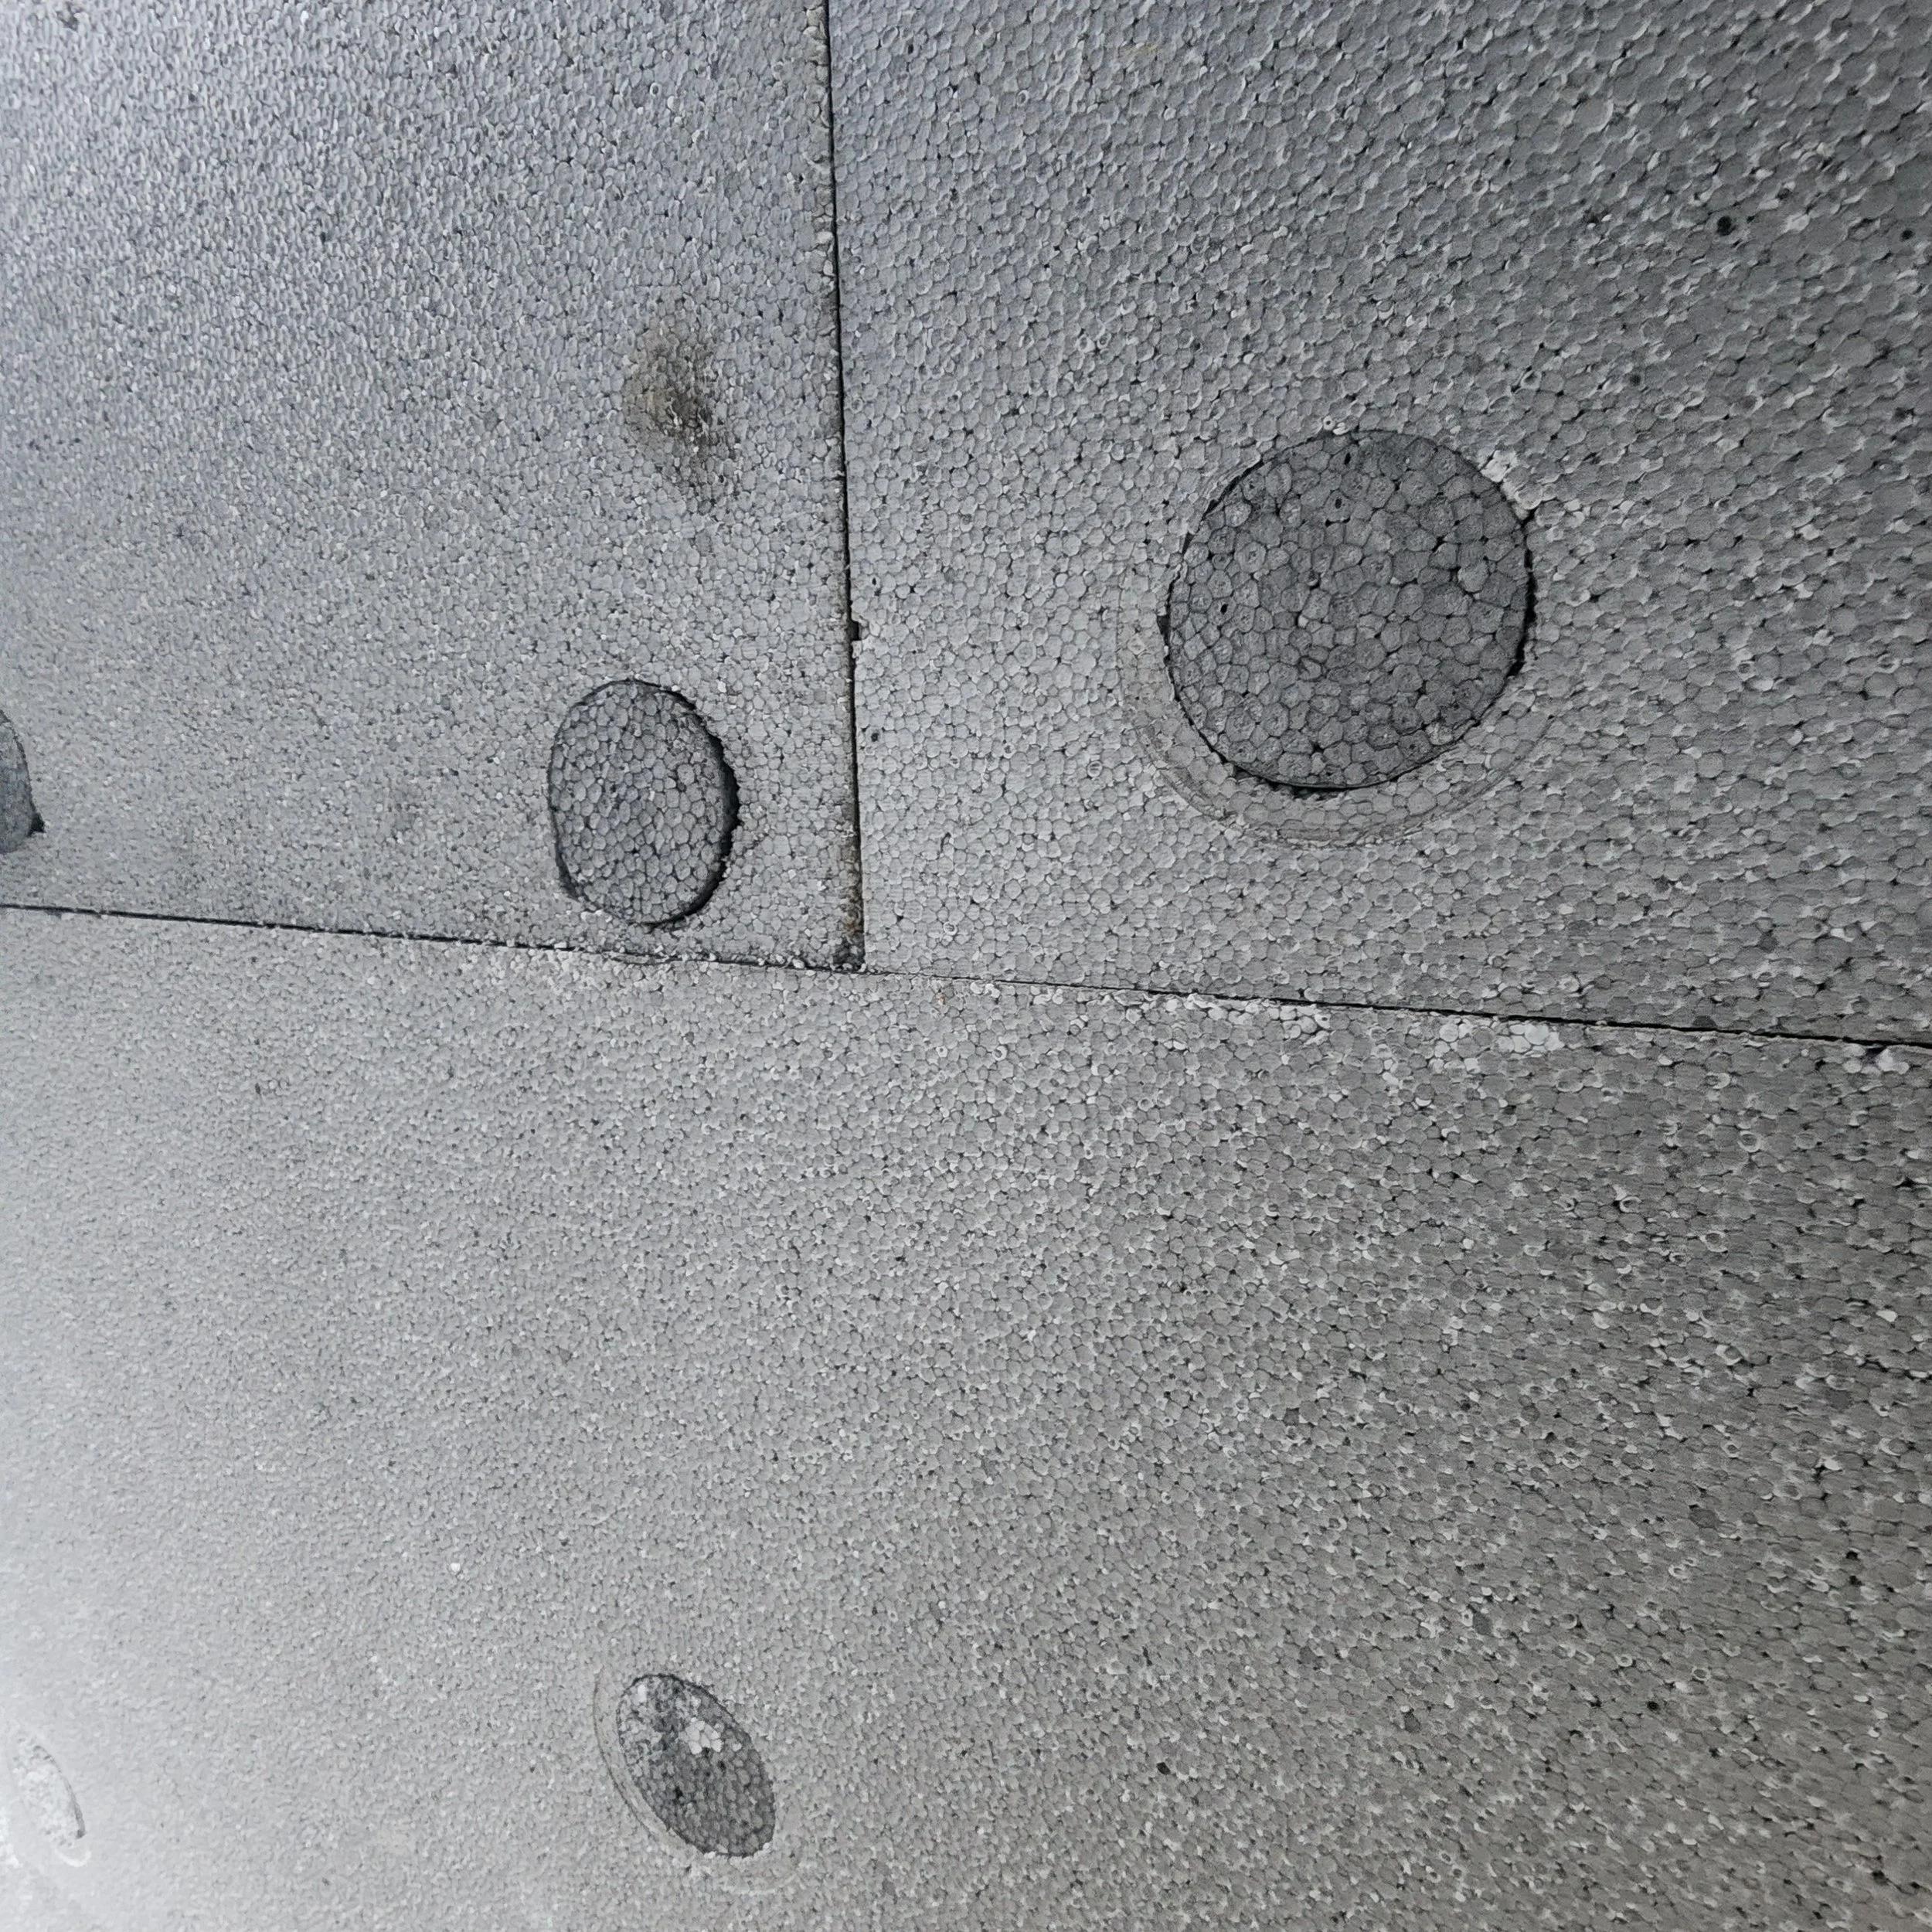
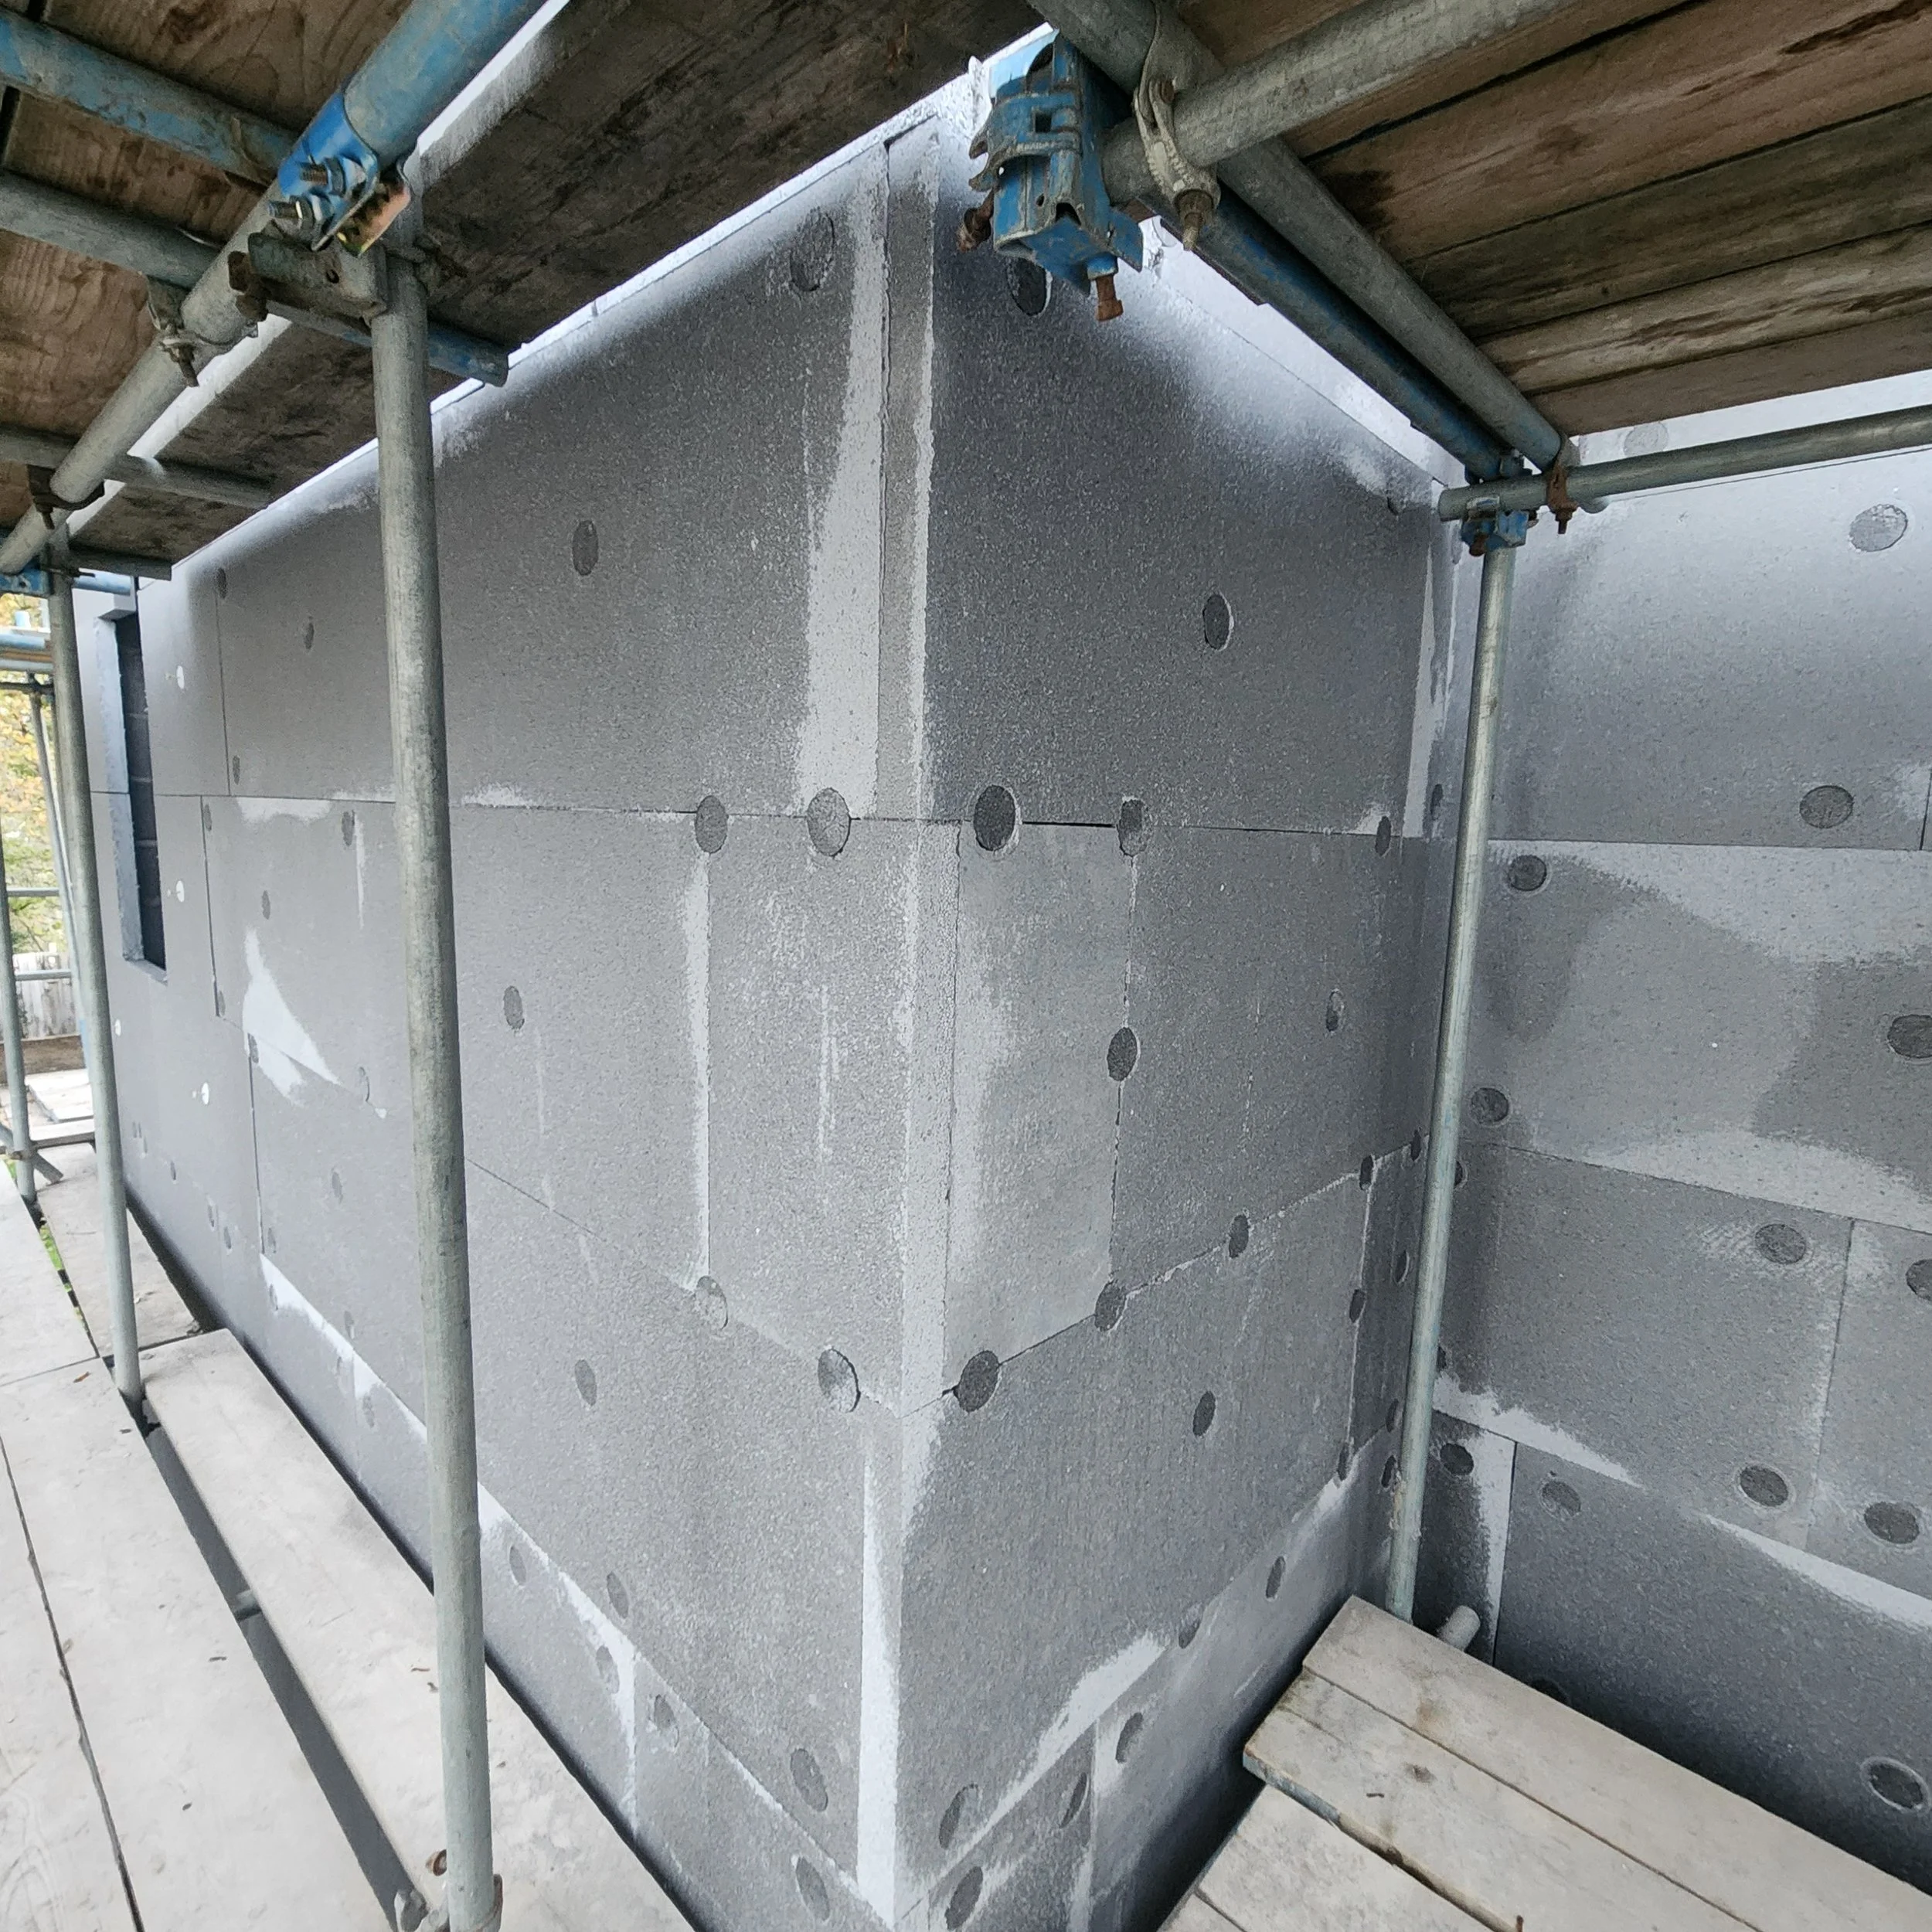
Insulation Installation & Mechanical Fixing
Insulation boards are securely bonded and mechanically fixed to the walls to create a stable, impact-resistant base.
Correct fixing:
Prevents movement over time
Reduces the risk of cracking
Minimises thermal bridging
This stage forms the structural foundation of the entire system.
Beadwork & Detailing
Specialist beads are installed to all corners, edges, and openings to ensure straight lines, clean detailing, and impact resistance.
This stage defines the final appearance of the property and plays a key role in protecting vulnerable areas of the system.
(Insert beadwork / reveal detail image here)
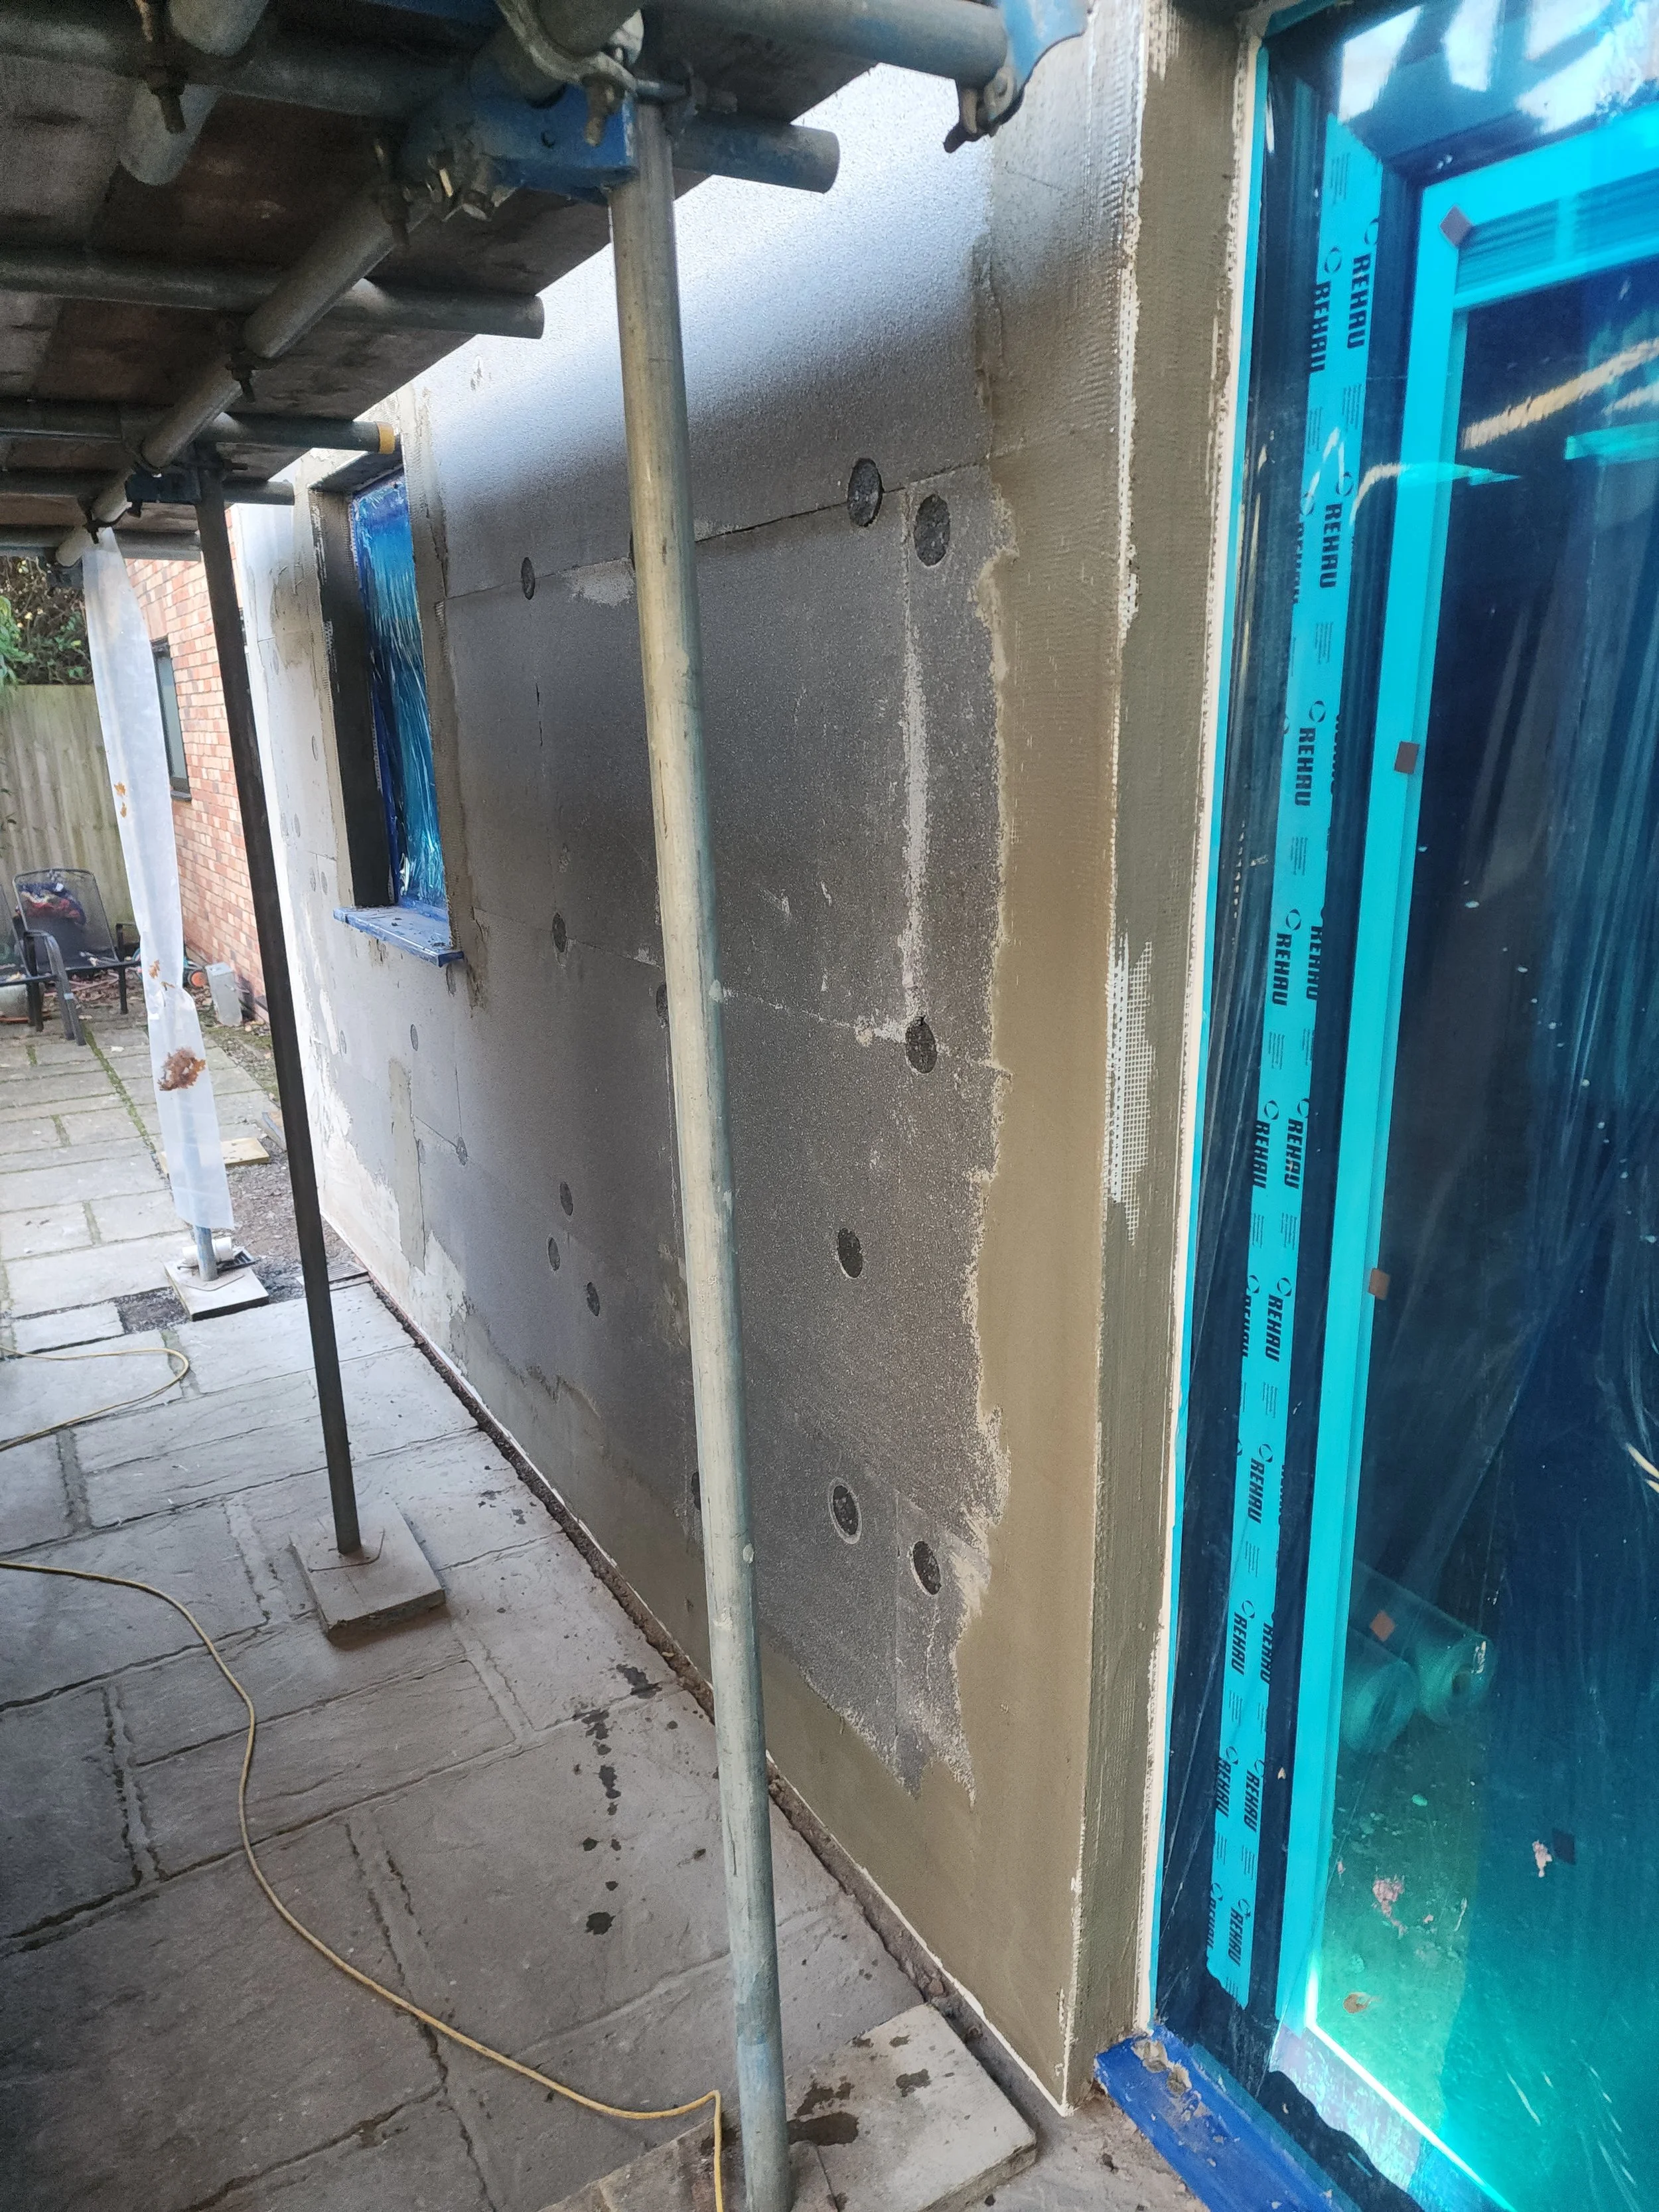
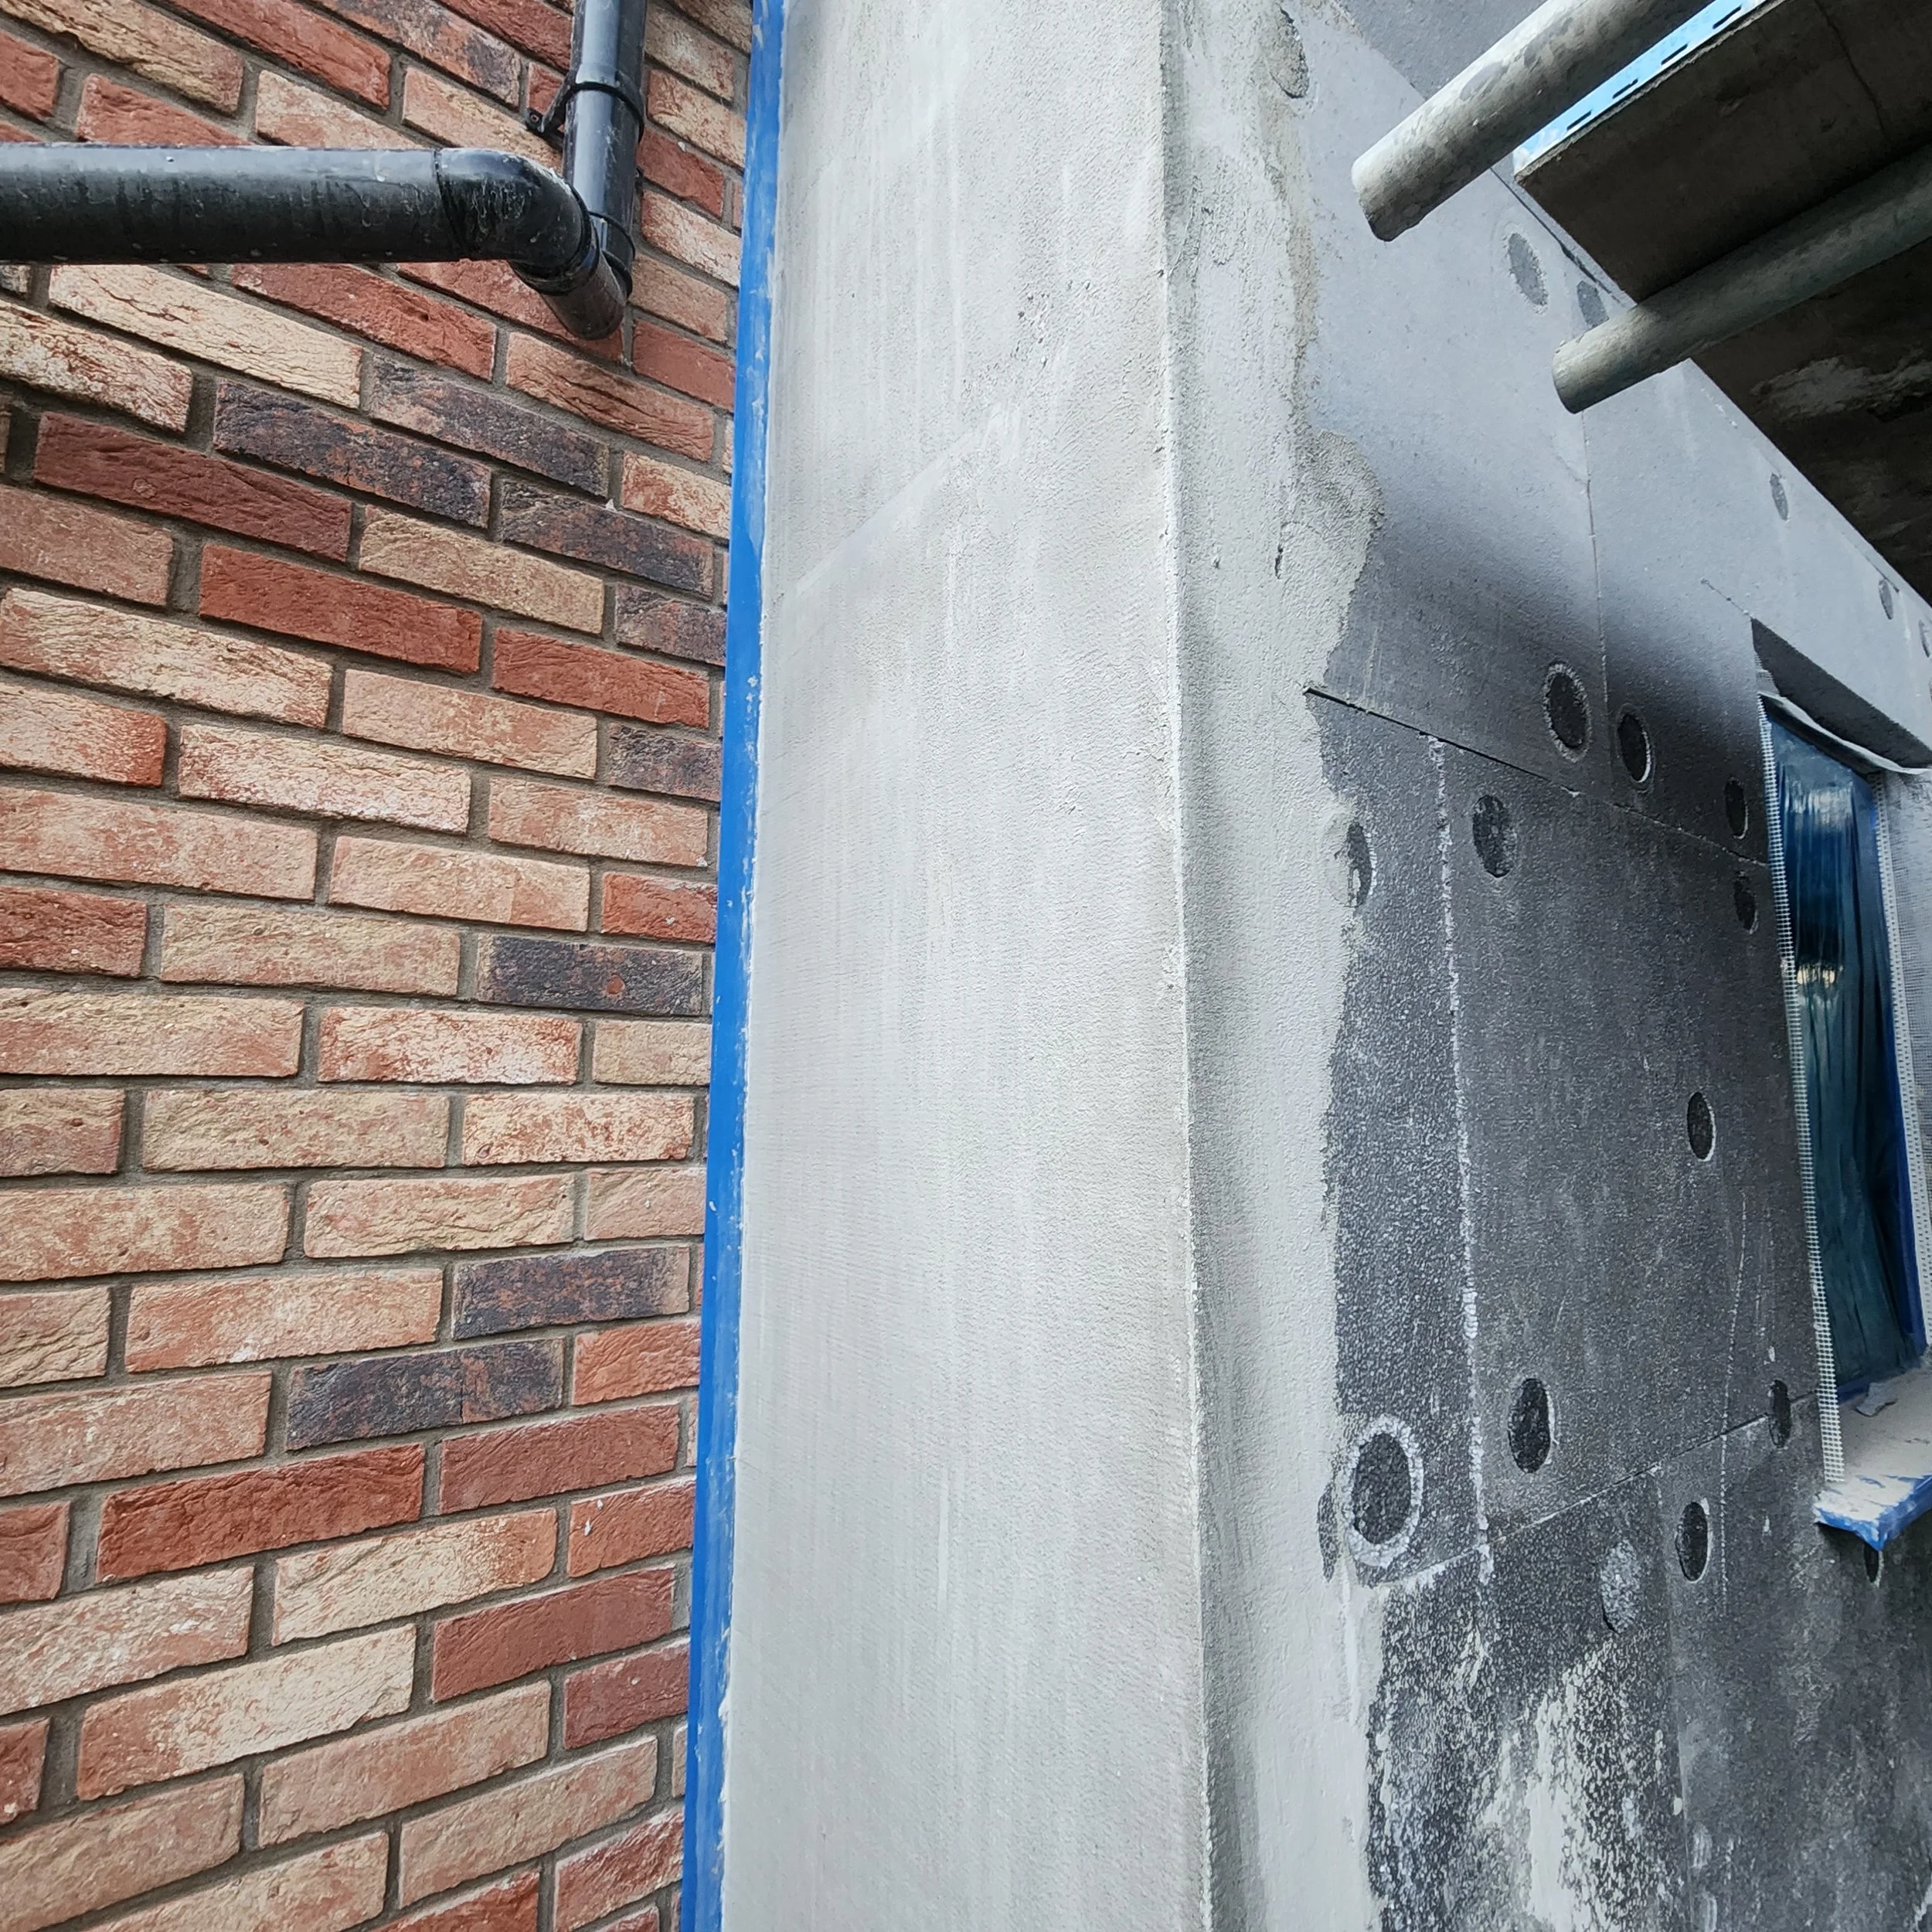
System Preparation & Reinforcement
Once insulation and detailing are complete, the system is prepared for reinforcement and finishing coats.
Each layer is designed to work together as part of a fully integrated external wall insulation system, ensuring strength, flexibility, and durability.
Primer & Silicone Render Finish
A silicone primer is applied, followed by a breathable silicone render finish.
Silicone render provides:
Excellent weather resistance
Reduced risk of cracking
A modern, low-maintenance finish
The result is a clean, uniform appearance designed to last for many years.
Completed Project
The finished system delivers both visual transformation and measurable thermal improvement.
Benefits include:
Improved internal comfort
Reduced heat loss
A fresh, modern exterior appearance
Long-term protection for the building fabric
Thinking About Insulating Your Home?
If you’re considering external wall insulation and want a system installed properly, professionally, and built to last, we’d be happy to help.